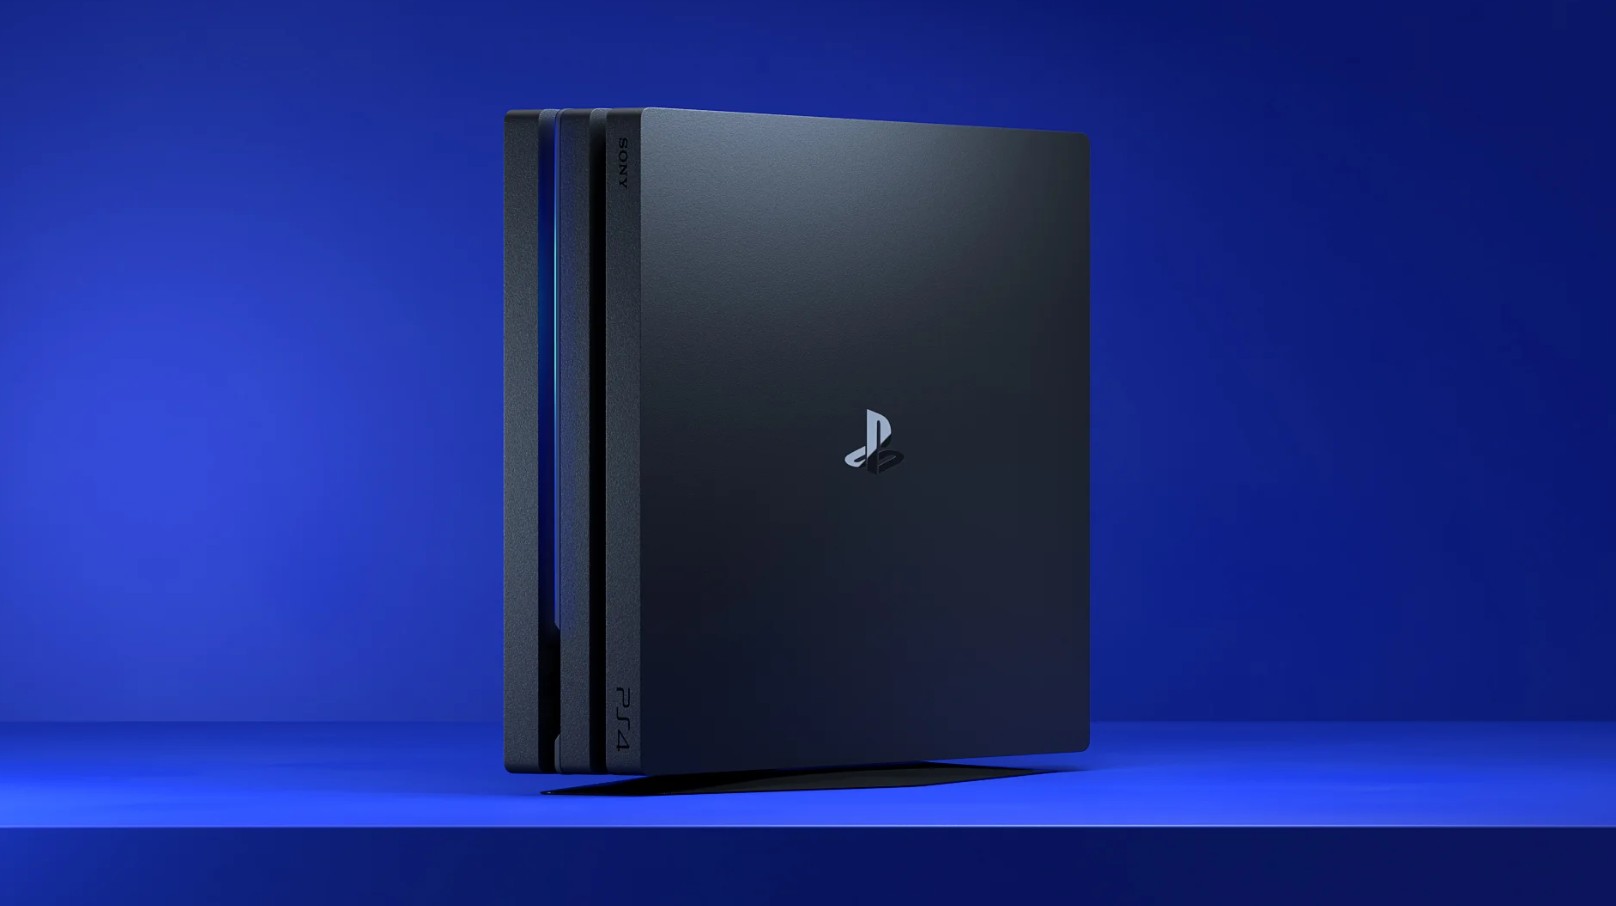
Not able to buy a PS5? How to Improve Your PS4 for Quicker Loading Times – Many gamers may be forced to continue with their outdated console because the PS5 Pro will shortly cost $900. Here’s how to install an SSD in your PS4 to increase its speed if you have the time to tinker.
We have terrible news if you were hoping for a PlayStation 5 pricing reduction. The standard model console will cost $649 after releasing at $399, and the digital version will cost $599 starting on April 2. In contrast, the Pro edition will increase in price from $700 to $899.
This implies that you will have to put up with excruciatingly slow PS4 loading times if you still own a PS4 and cannot afford to spend $600 on a new system. Or are you going to? Although each game is unique, upgrading the console’s hard drive to an SSD could reduce load times by 10 to 20 seconds on the 5400 RPM hard disk of the PS4 and PS4 Pro.
Selecting the quickest SSD is not a major concern, but it must be a 2.5-inch model rather than the M.2 SSD “gumsticks” that have gained popularity in PCs. I utilized a Western Digital Blue model, which is now known as Optimus and provides excellent performance at a reasonable price.
I just required a screwdriver to replace the drive itself. However, before you can recover your data, you must make a backup of all your data and reinstall the PS4 operating system on the new drive. You’ll need one or two USB drives for that. The entire procedure should only take about fifteen minutes if done correctly. I’ll walk you through the process.
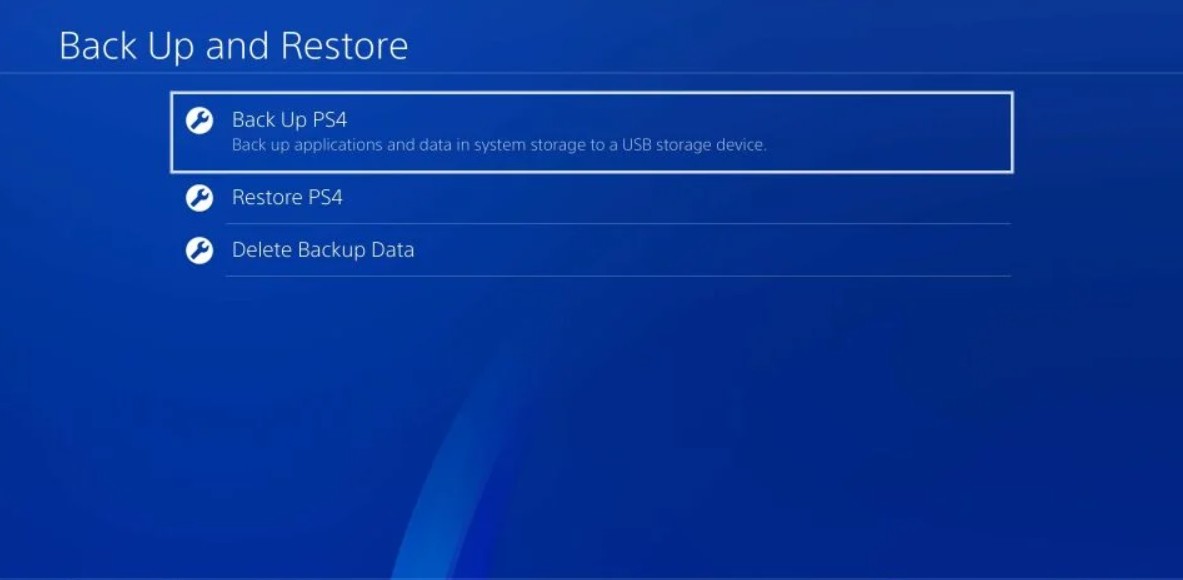
Step 1: Make a backup of your game files
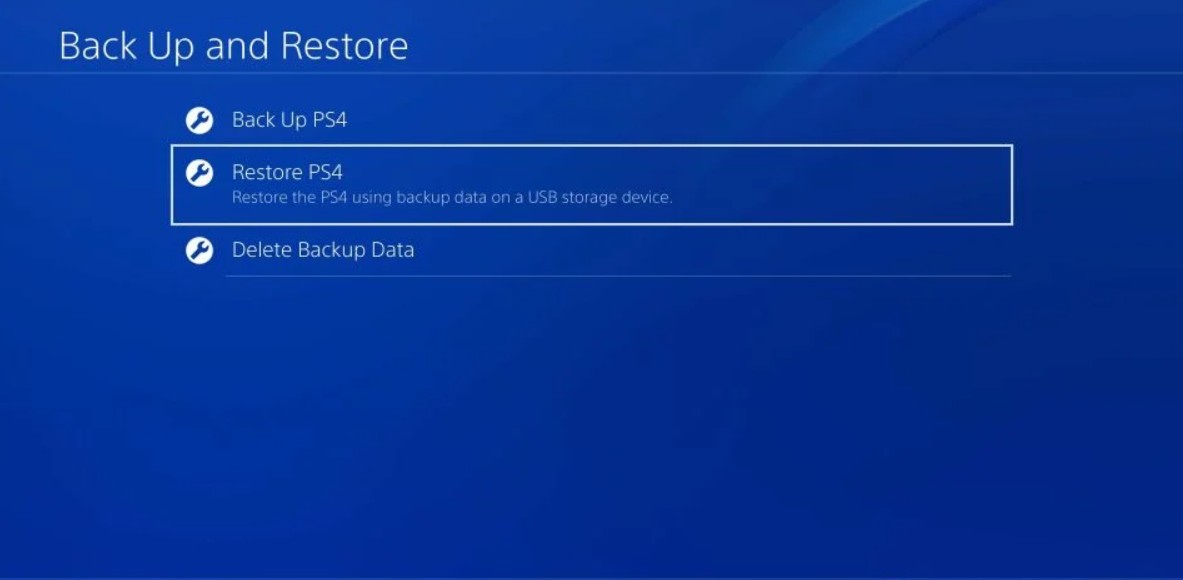
Before you grab the screwdriver, make a backup of all your data because you will be starting over with a clean disk. You’ll need a USB drive for this. After inserting it into the console, choose Back Up PS4 under Settings > System > Back Up and Restore. You should make a backup of your saved data, which includes your game saves. If you don’t want to download everything again, you may also make a backup of apps like Netflix.
Subscribers of PlayStation Plus can backup to the cloud instead of using a USB device. Choose Upload to Online Storage under Settings > Application Saved Data Management > Saved Data in System Storage. It won’t contain any trophies you have won. Go to the Trophies section of the PS4 menu, hit Options on your controller, and choose Sync Trophies with PSN if you’re serious about keeping these.
Go to Power > Power Options > Turn Off PS4 to fully shut down the PS4 after the backup procedure is complete; you don’t want to be in Rest Mode. Before proceeding, unhook the power cable and wait for the light to stop blinking to make sure it is entirely off.
Step 2: Change the Drive
The procedure varies according on the version of the PS4 you own, but Sony made upgrading the hard drive quite simple (far simpler than adding a second SSD to the PS5). The guidelines for each model are as follows:
- Original PlayStation 4: To fully remove the glossy panel from the top of the device, slide it to the left. Pull the hard drive cage in your direction after unscrewing the screw next to you on the left. Replace the drive with your SSD after removing the four screws keeping it in place.
- PlayStation 4 Slim: Flip the device over. There is a black piece of plastic with letters on it to the right of the ports; to remove it, apply pressure and slide it to the right. After removing the big screw underneath, use the black ribbon to slide the drive cage out the PS4’s side. Replace the drive with your SSD after removing the four screws keeping it in place.
- PlayStation 4 Pro: Flip the device over and locate the hard drive lid to the right of the ports. Locate the side notch and swing it open with your finger; it resembles a small door. (To get it open, I had to use some force.) Slide the hard drive cage out after removing the screw underneath it. Replace the drive with your SSD after removing the four screws keeping it in place.
After inserting your SSD into the console, shut everything off and re-plug it. However, you must get to your computer before turning it on.
Step 3: Install the PS4 software again
The operating system is not installed on the new drive that is in the console. Put a USB drive (not the one you’re using for your PS4 backup) into your computer. Choose Format with FAT32 as your file system when you right-click the disk in File Explorer or Finder. Make a PS4 folder on the HDD, then make a UPDATE folder inside of it.
Next, navigate to the section on How to reinstall the PS4 console system software on Sony’s support page. To download the system software for the PS4 console, click the reinstallation file. To see Sony’s instructions, you can also access the Reinstall PS4 system software drop-down menu. Put the file in the UPDATE folder that you already made. The file must be titled PS4UPDATE.PUP in order for it to function; do not rename it.
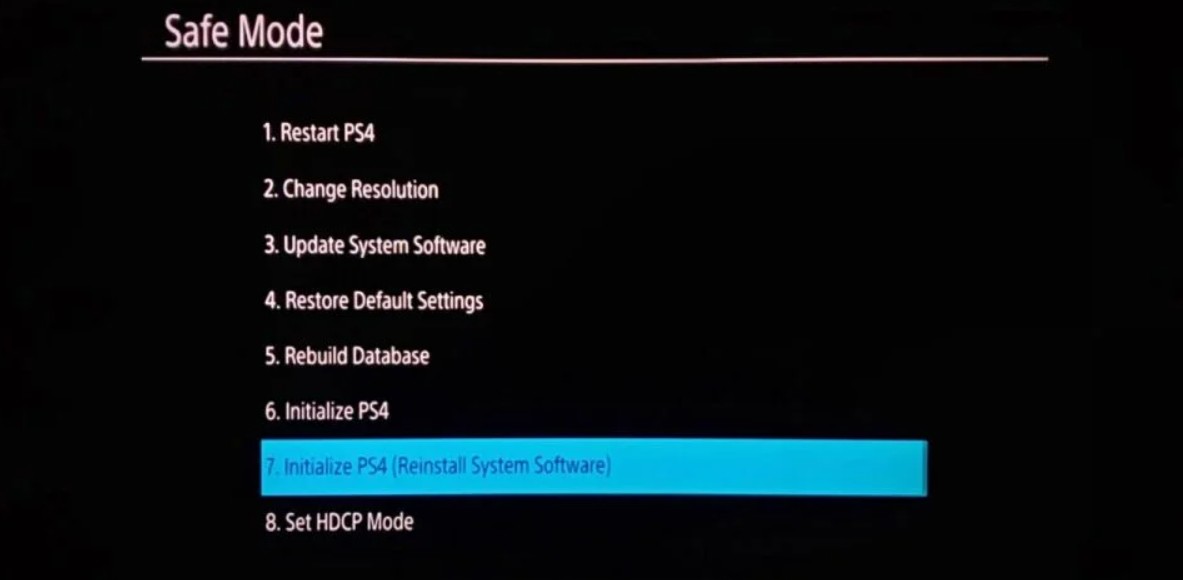
Return to your PS4 after ejecting the flash disk. Press and hold the power button until you hear the second beep (about seven seconds) after plugging in a controller via a USB wire. You’ll enter Safe Mode as a result. After choosing Initialize PS4 (Reinstall System Software), hit X. Press OK after inserting your USB disk containing the update file. Select Next to install the PS4 software on your new drive after it has located the update. Your PS4 will restart and present you with the initial setup screen after the process is complete.
Step 4: Reinstall your games and restore your data
As with setting up a new PS4 for the first time, you will have to connect into your PlayStation account once more. However, you should now restore the data that you already backed up before proceeding. Put the USB device into the console and select Settings > System > Back Up and Restore > Restore PS4 if you had to manually backup the data. Go to Settings > Application Saved Data Management > Saved Data in Online Storage > Download to System Storage if you utilized PS Plus.
After re-downloading and/or re-installing your games, you should be able to resume playing as soon as possible and with faster loading times.